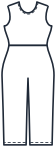
Jumpsuit sewing pattern — front view sketch

Jumpsuit pattern to your measurements

Free women's jumpsuit pattern drafted to your measurements: fitted bodice, straight or wide legs, side-seam pockets, optional sleeves. PDF on Letter or A4.

  • Free, no sign-up
  • PDF on Letter or one sheet
  • 4 × 4 in10 × 10 cm test square
  • Beta

1Your measurements, incm

Fit, ease and seams — optional
Draft check: checking…
    Bodice backCut 2 pieces (mirrored)grainlinesewsize.com/Bodice frontCut 1 on foldgrainlinefabric foldsewsize.com/Pants front legCut 2 pieces (mirrored)grainlinesewsize.com/Back pant legCut 2 pieces (mirrored)grainlinesewsize.com/Pocket bagCut 4 piecesgrainlinesewsize.com/
    Pattern size —Letter sheets —

    Other formats

    How much fabric you need: size chart

    Fabric length for 110 / 140 / 150 cm44 / 54 / 60 in wide fabric, worked out by laying out the pieces of this pattern, just like the “How much fabric to buy” block. For your own measurements and length, use the calculator above.

    SizeBust / waist / hip, cminFabric 110 cm44 inFabric 140 cm54 inFabric 150 cm60 in
    XS (EU 34)80 / 62 / 8631½ / 24½ / 342.10 m2⅜ yd1.85 m2⅛ yd1.75 m2 yd
    S (EU 36)84 / 66 / 9033 / 26 / 35½2.35 m2⅝ yd1.85 m2⅛ yd1.80 m2 yd
    M (EU 38–40)90 / 72 / 9635½ / 28½ / 382.40 m2⅝ yd1.85 m2⅛ yd1.80 m2 yd
    L (EU 42–44)98 / 80 / 10438½ / 31½ / 412.55 m2⅞ yd1.85 m2⅛ yd1.85 m2⅛ yd
    XL (EU 46)104 / 86 / 11041 / 34 / 43½2.60 m2⅞ yd1.95 m2¼ yd1.85 m2⅛ yd
    2XL (EU 48)110 / 92 / 11643½ / 36 / 45½2.65 m3 yd2.05 m2¼ yd2.00 m2¼ yd
    3XL (EU 50)116 / 98 / 12245½ / 38½ / 482.65 m3 yd2.20 m2½ yd2.05 m2¼ yd

    Garment length: 100 cm39½ in, the default in the pattern maker above. For fabric without nap or a one-way print; if it shrinks in the wash, buy 10% more. “—” means a piece is wider than the fabric.

    How to sew a jumpsuit: step by step

    Sewing order for the pattern drafted above: bodice with darts, pants with pockets in the side seams, joining at the waist, and a long invisible zipper at the back.

    What you'll need

    • Fabric — the fabric calculation above shows how much you need
    • Lightweight fabric for the pocket bags; you can use the main fabric.
    • Invisible zipper (the zipper length is given in the line under the drawing)
    • Bias tape for the neckline
    • Matching thread, invisible zipper foot
    Glossary
    Right sides together
    the pieces are placed right sides together — the seam will end up on the wrong side.
    Raw edge
    the edge of a pattern piece after cutting.
    Seam allowance
    the amount of fabric between the raw edge and the stitching line.
    Notches
    short snips 3–4 mm⅛ in into the raw edge at the pattern marks — they help you line up the pieces.
    Sew together
    Join two pieces with a seam.
    Attach
    Sew one piece to the edge of another with a seam.
    Topstitch
    Stitch from the right side, catching the folded edge or piece.
    Finish the raw edges
    Finish the raw edge with a serger or zigzag stitch so it won’t fray.
    Press open
    Press the seam allowances open.
    Press
    Press, arranging the seam allowances or fold in the desired direction.
    Dart
    a wedge-shaped fold that is sewn together so the fabric follows the curve of the body.
    Ease
    one piece is slightly longer than the other; draw it in gently so it creates fullness without folds.
    Sleeve cap
    the rounded upper part of a sleeve.
    Armhole
    the opening in the garment where the sleeve is set in.
    Neckline
    the opening for the neck.
    Bias binding
    A strip of fabric cut at a 45° angle to the selvage: it follows curves nicely.
    On the bias
    at a 45° angle to the selvage — this is the direction in which the fabric stretches the most.
    Pressing cloth
    a piece of cotton fabric placed between the iron and the project to prevent shine and scorch marks.
    1. Prepare the fabric

      Wash or steam the fabric the same way you'll wash the finished garment: if the fabric shrinks after sewing, the garment will come out smaller and distorted.

    2. Transfer the markings

      Right after cutting, mark all pattern markings with shallow notches (3–4 mm⅛ in): the hip line, center, and darts. Trace the darts on the wrong side with chalk or baste them.

    3. Sew the darts

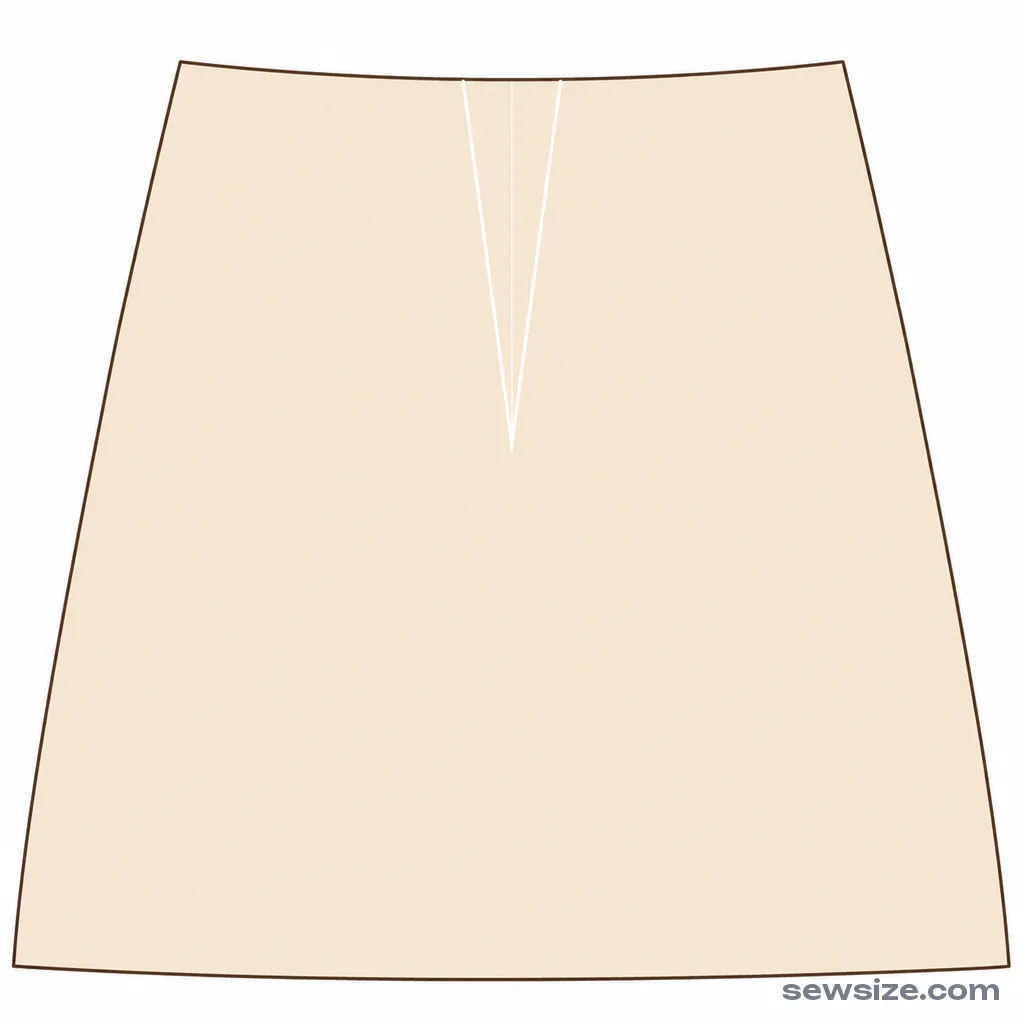
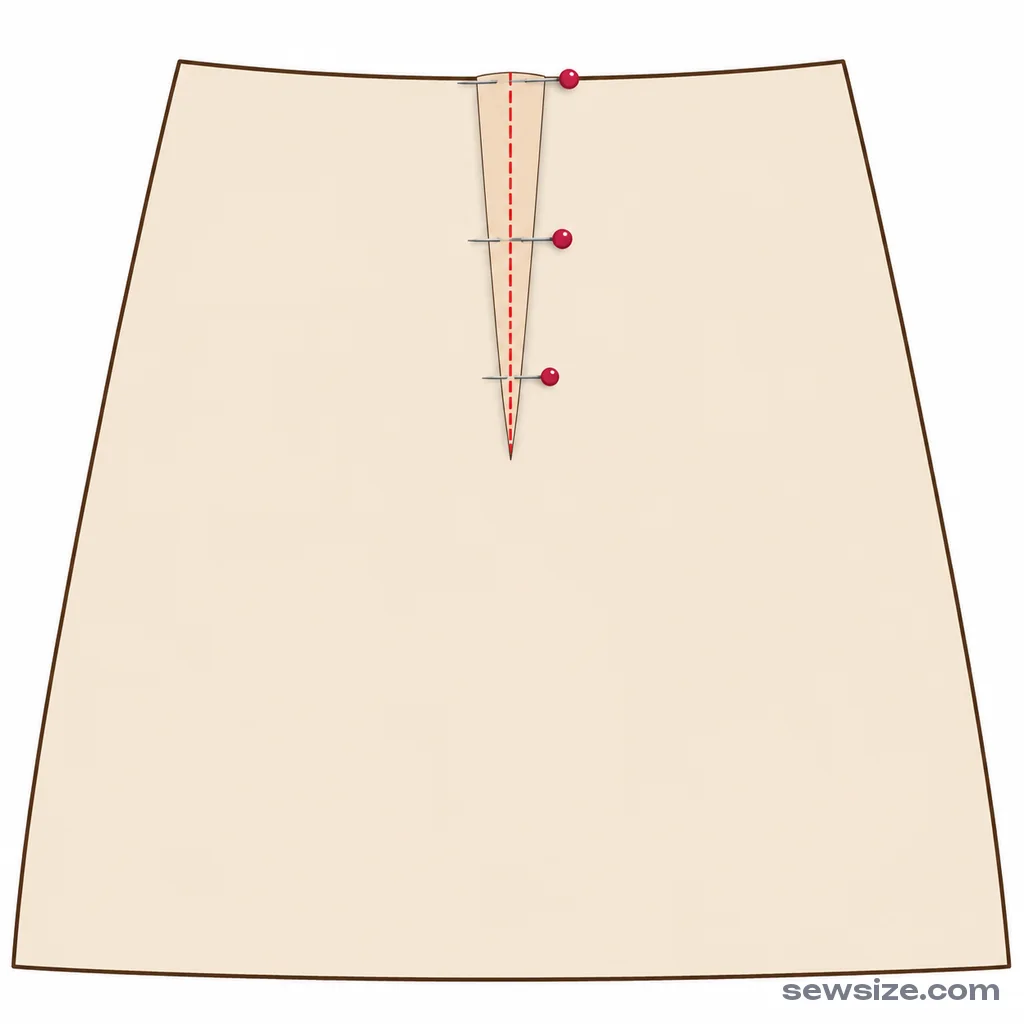
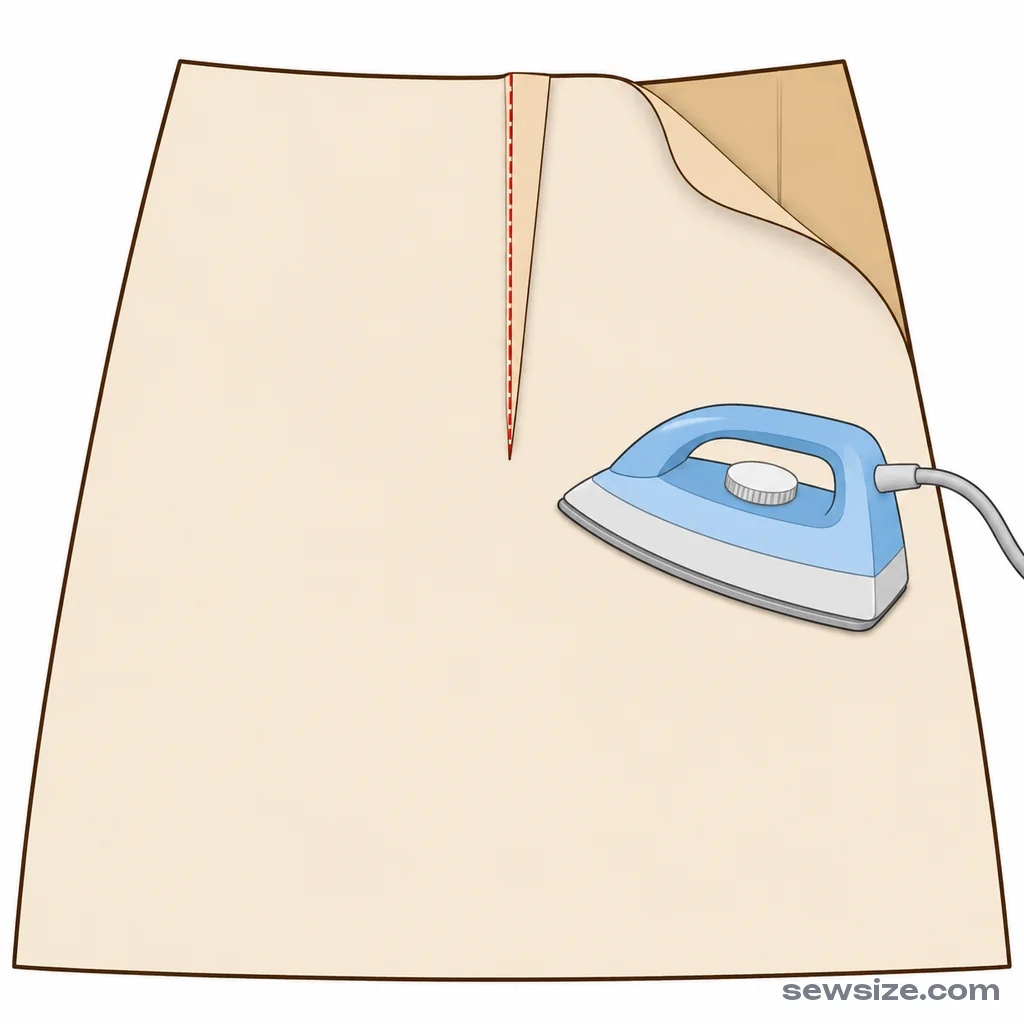
      Sew the bust dart from the side seam to the apex — keep the last stitches right up against the fold so the dart tapers smoothly to nothing — and press it down. Sew the bodice waist darts from the waistline to the point and press them toward the center. Tie the thread tails at the points in a knot instead of backstitching.

      Sew the darts — 11
      Sew the darts — 22
      Sew the darts — 33
    4. Assemble the bodice

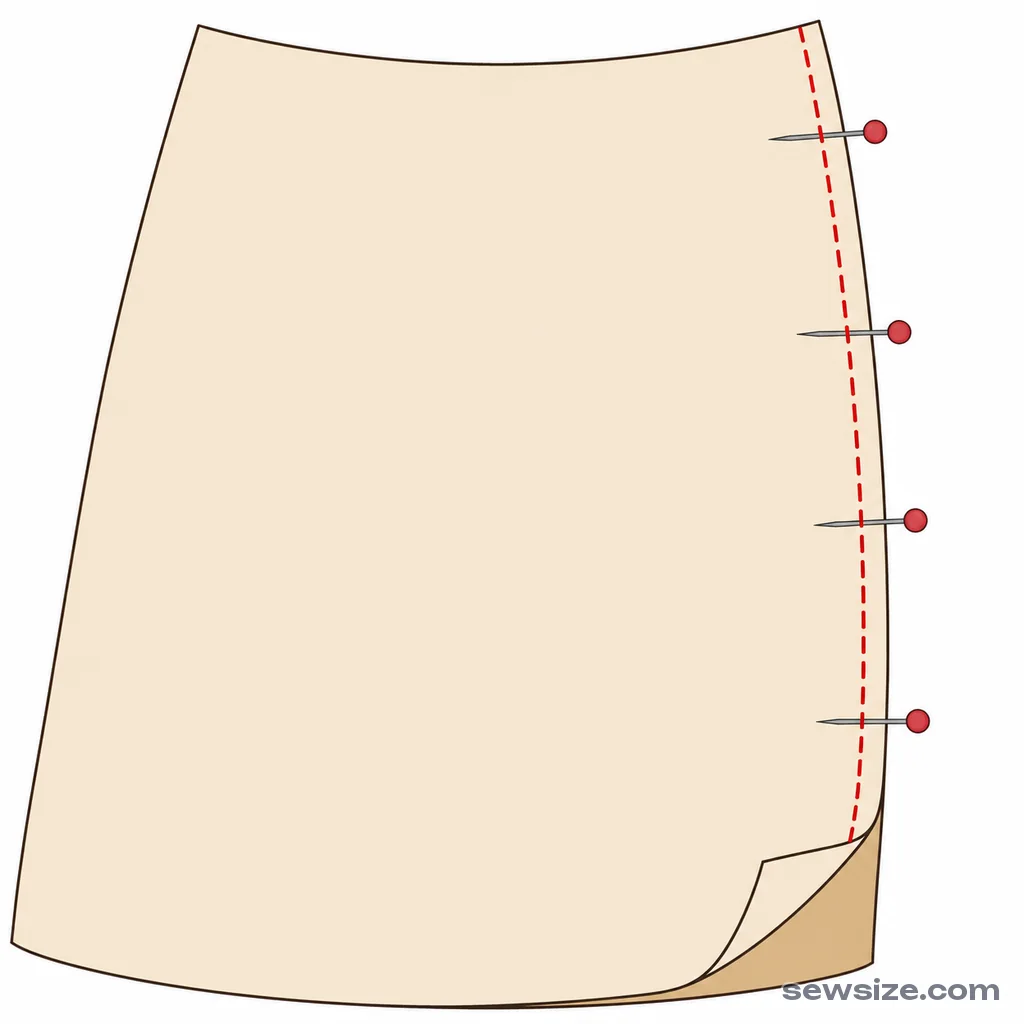
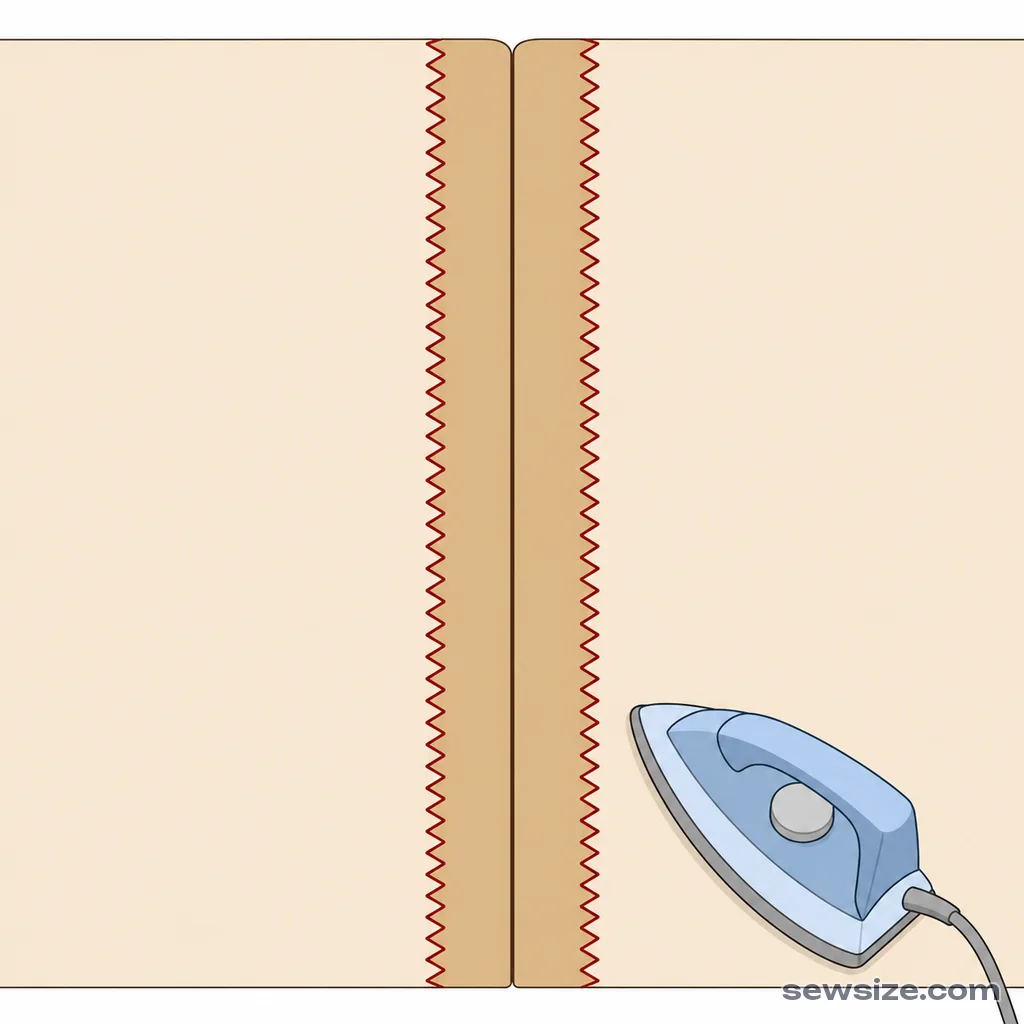
      Sew the shoulder and side seams of the bodice, matching the notches. Do not sew the center back seam—the zipper will go through it. Finish the seam allowances and press them open.

    5. Sew the pants darts

      Sew the front and back pants darts from the top edge to the point, with the last stitches right next to the fold. Press them toward the center.

      Sew the pants darts — 11
      Sew the pants darts — 22
      Sew the pants darts — 33
    6. Attach the pocket bags

      If you chose pockets: place a pocket bag on the side raw edge of the front piece, right sides together, matching the “Opening” notches with the “Pocket” notches, and sew it on along the entire length of the pocket bag, using the seam allowance width from the pattern. Attach the second pocket bag to the back piece the same way. Press the seam allowances toward the pocket bag, and fold the pocket bags out to the outside. Repeat on the other pant leg.

    7. Sew the side seams together with the pocket

      Place the front piece on the back piece, right sides together. Sew the side seam from the waist to the top notch of the pocket opening, backstitch, then stitch around the edge of the pocket bag to the lower notch and backstitch. Continue sewing the side seam down to the hem, matching the hip and knee notches. The pocket opening stays open. Finish the raw edge of the pocket bag, press the seam allowances, press the pocket bag toward the front, and baste its top edge to the waist: it will be caught in the waist seam so the pocket won’t sag.

      Sew the side seams together with the pocket — 11
      Sew the side seams together with the pocket — 22
    8. Sew the inseams

      With right sides together, fold each pant leg along the inseam, match the knee notches, and sew from the hem up to the crotch. Finish the raw edges.

    9. Sew the crotch seam, stopping short of the zipper

      Turn one pant leg right side out and insert it into the other, right sides together, matching the inseams. Sew the crotch seam from the top of the front through the crotch and up the back; stop 5 cm2 in below the "End of zipper" notch. At the curve, sew a second row of stitching and trim the seam allowances to 0.7 cm¼ in. Finish the back raw edges above the stitching separately.

    10. Join the bodice and pants

      Place the bodice on the pants at the waist, right sides together: side seams to side seams, center front to center front, and bodice darts to pants darts. Sew, finish the seam allowances together, and press them down.

    11. Insert the invisible zipper

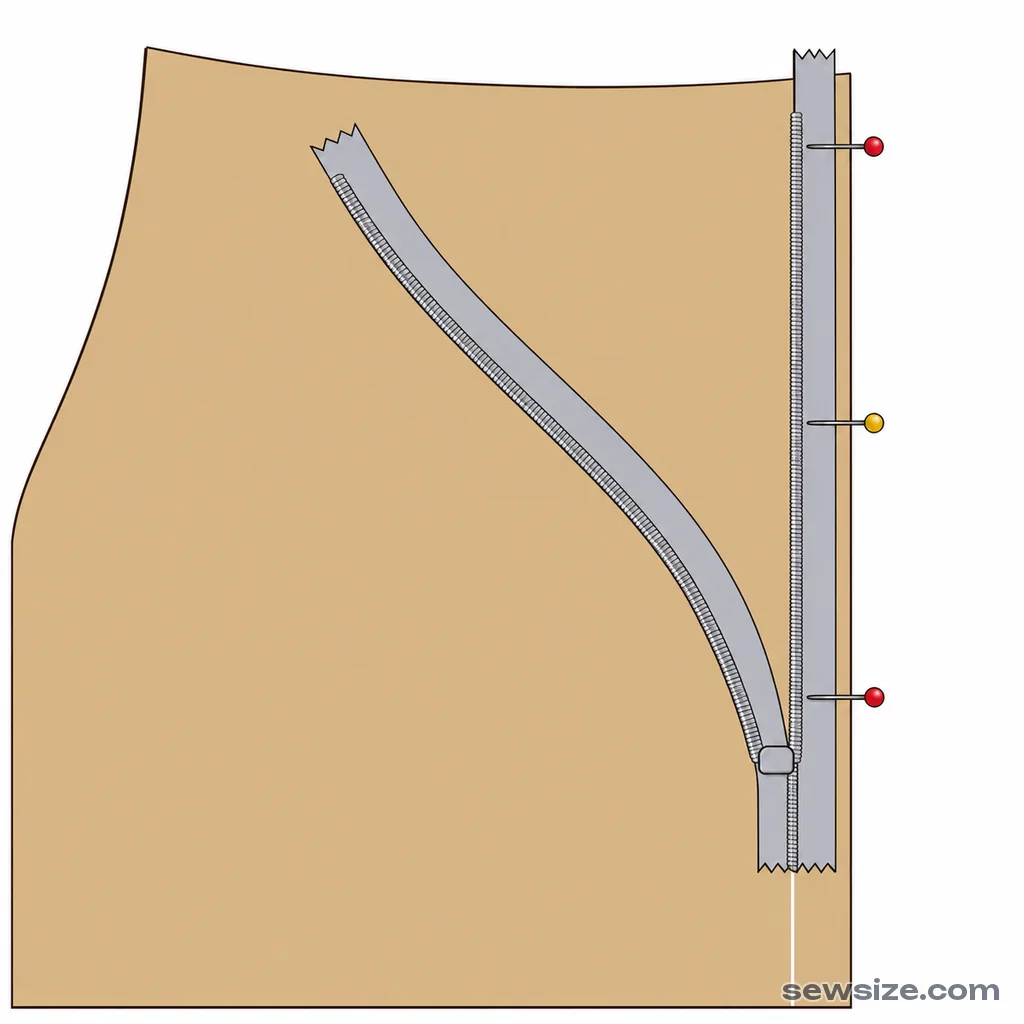
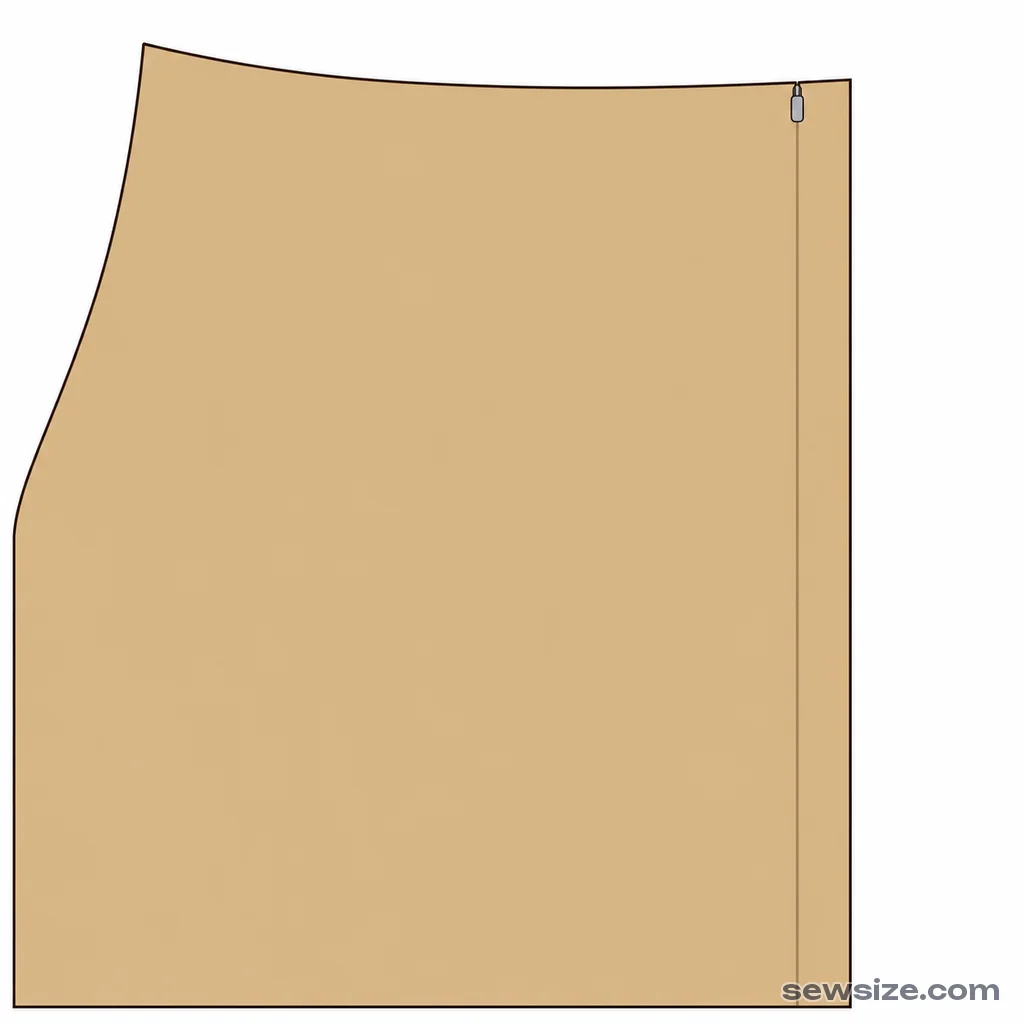
      The zipper goes in the center back seam, from the neckline to the "End of zipper" notch on the pants; the waist seam on both sides of the zipper must match, and the zipper is sewn into the seam before it is stitched. It’s easiest with an invisible zipper foot: place the zipper tape against the right side of the raw edge, right sides together, so the top of the teeth sits 3 mm⅛ in below the seam line (with a 1 cm⅜ in seam allowance, that’s 1.3 cm½ in from the top raw edge; with 1.5 cm⅝ in, it’s 1.8 cm¾ in): this way the waistband seam or binding won’t catch the teeth. Stitch close to the teeth up to the zipper pull, then do the other side. After that, sew the seam below the zipper: start stitching 1 cm⅜ in above and slightly to the side of the end of the zipper stitching. Sew the bottom of the tape to the seam allowances.

      Insert the invisible zipper — 11
      Insert the invisible zipper — 22
    12. Bind the neckline with bias tape

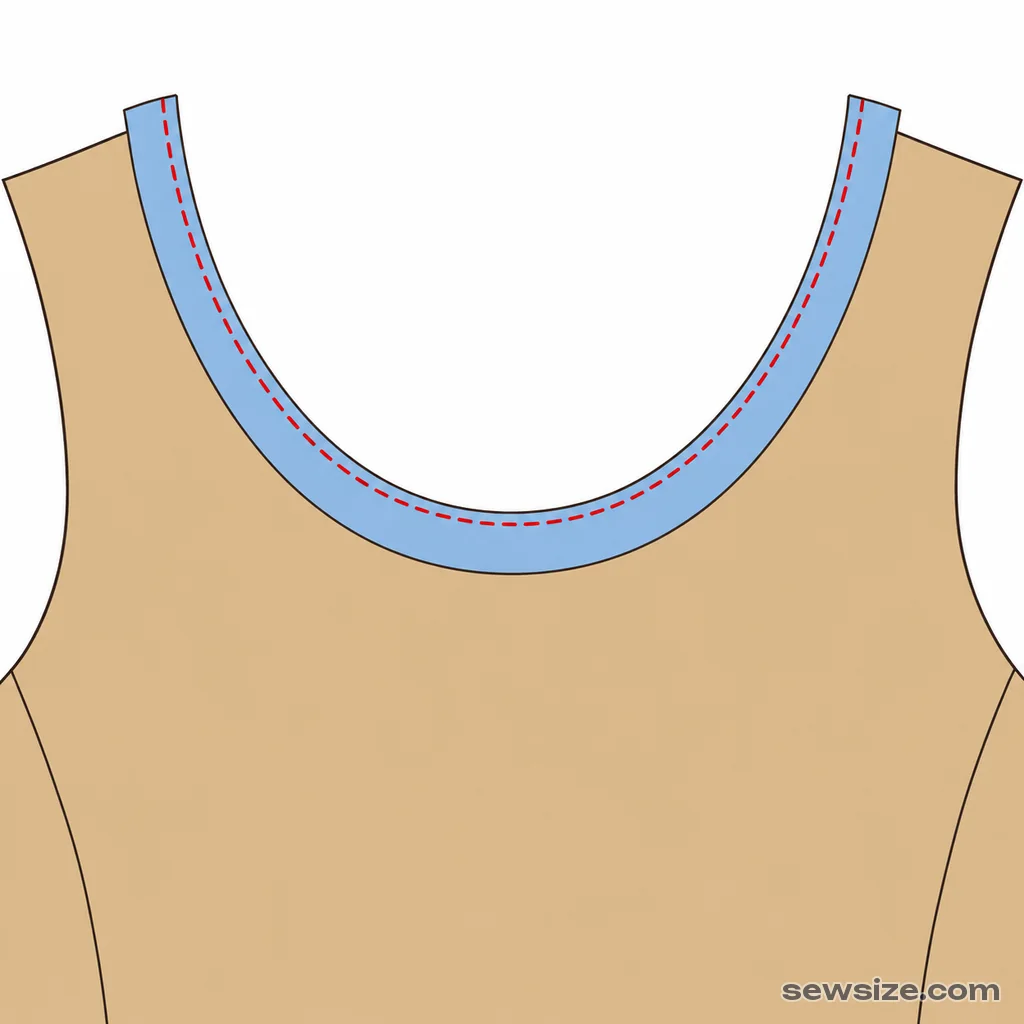
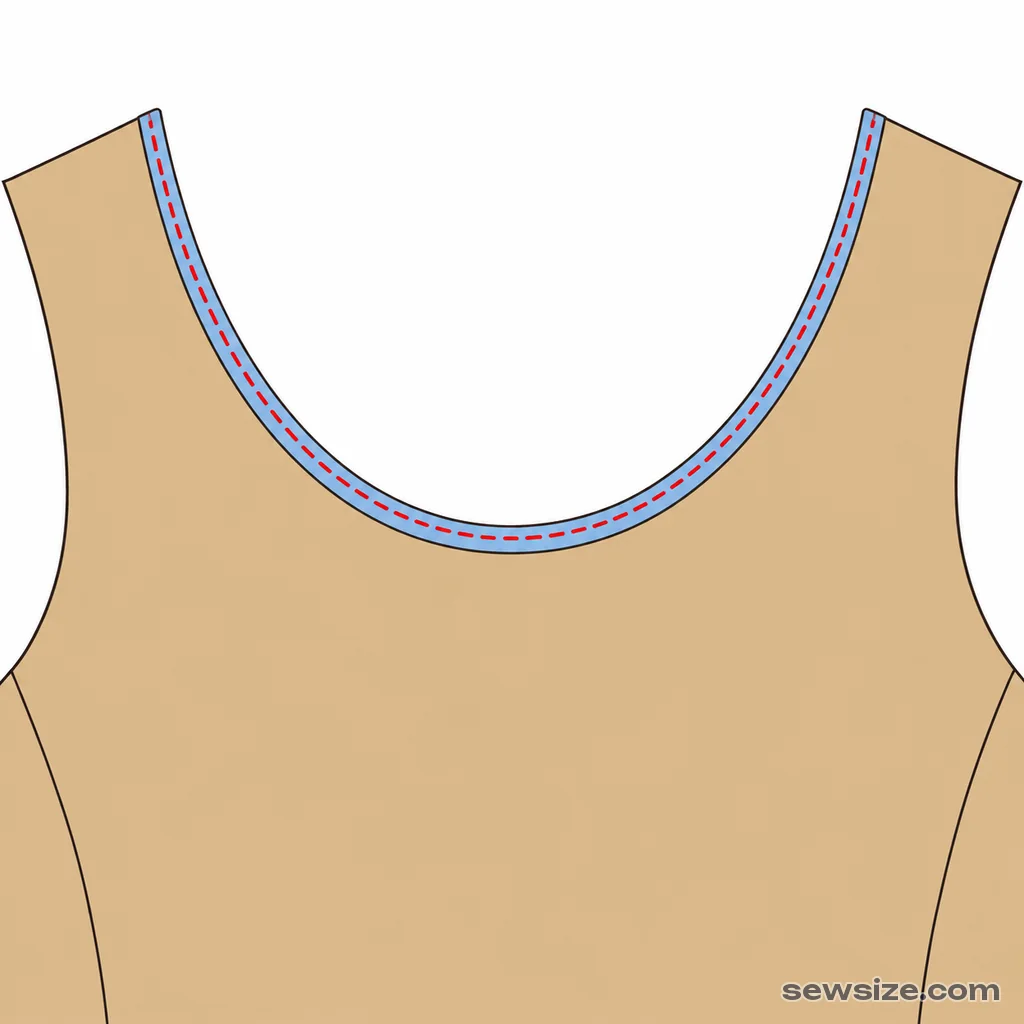
      If the seam allowance on this edge is wider than 0.7 cm¼ in, trim it to 0.7 cm¼ in first: otherwise the binding will sit above the pattern line and the opening will be tighter. Cut a bias strip 3.5 cm1⅜ in wide (from the garment fabric or use ready-made bias tape). Sew it to the edge, right sides together, with a 0.7 cm¼ in seam allowance, fold it over the edge to the wrong side, turn the edge under, and topstitch from the right side right along the edge of the binding. On curves, stretch the bias tape slightly — that way the edge won’t wave. Where the edge is continuous, sew the ends of the binding into a ring; at the zipper or slit, turn them under to the inside by 1 cm⅜ in.

      Bind the neckline with bias tape — 11
      Bind the neckline with bias tape — 22
    13. Set in the sleeves

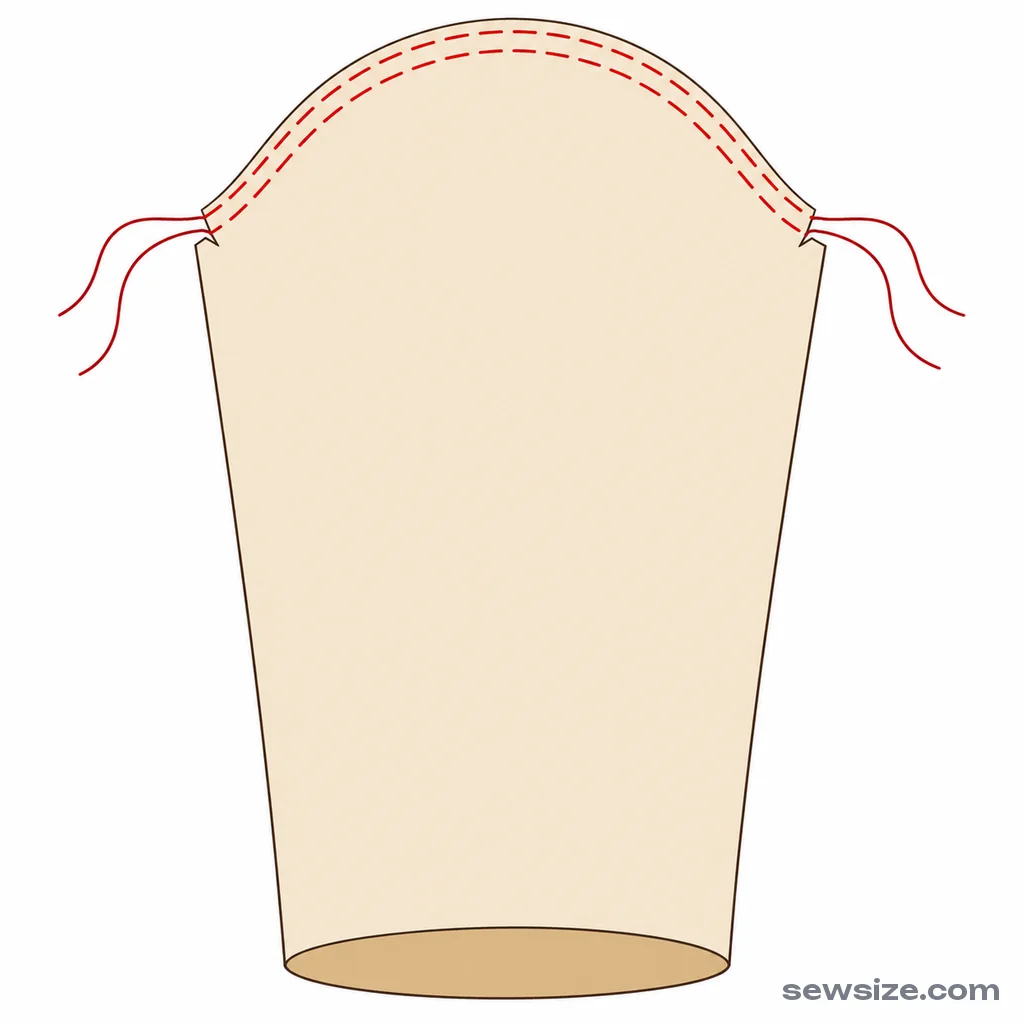
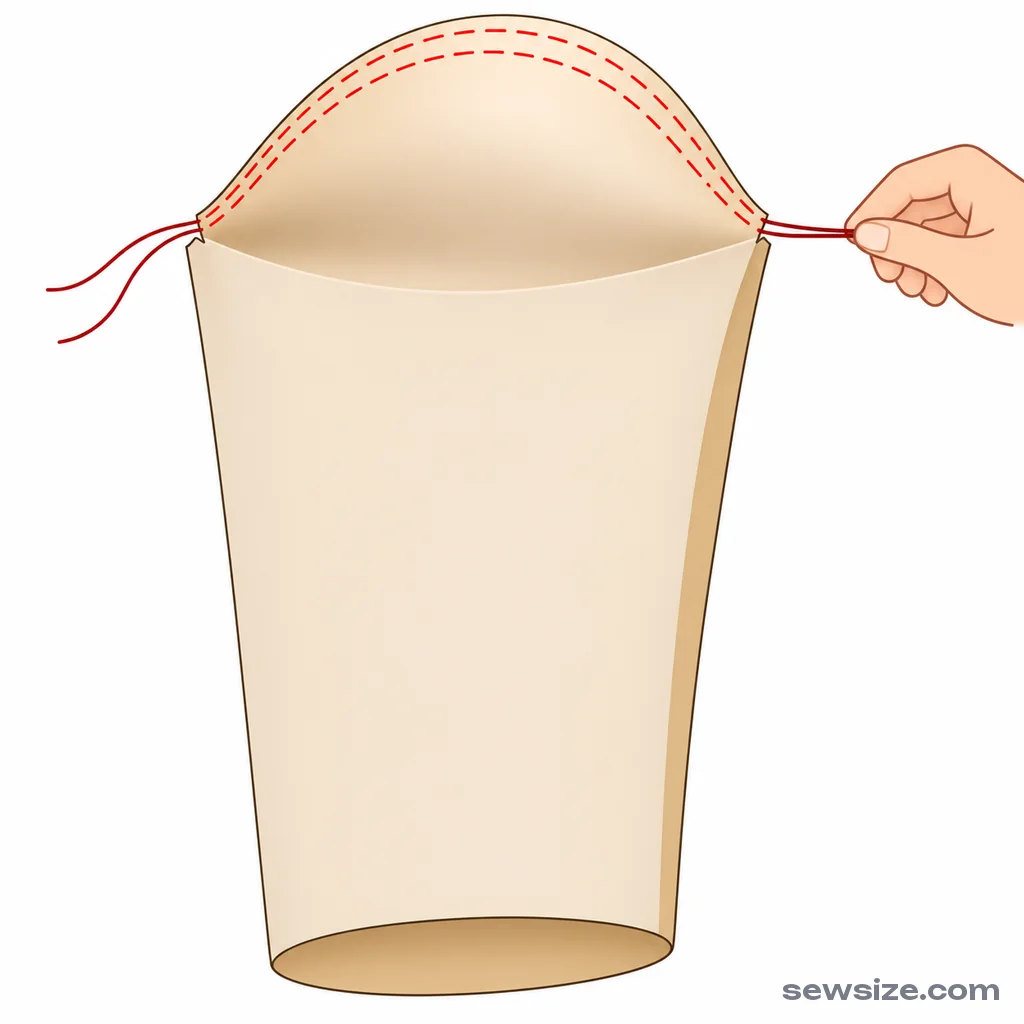
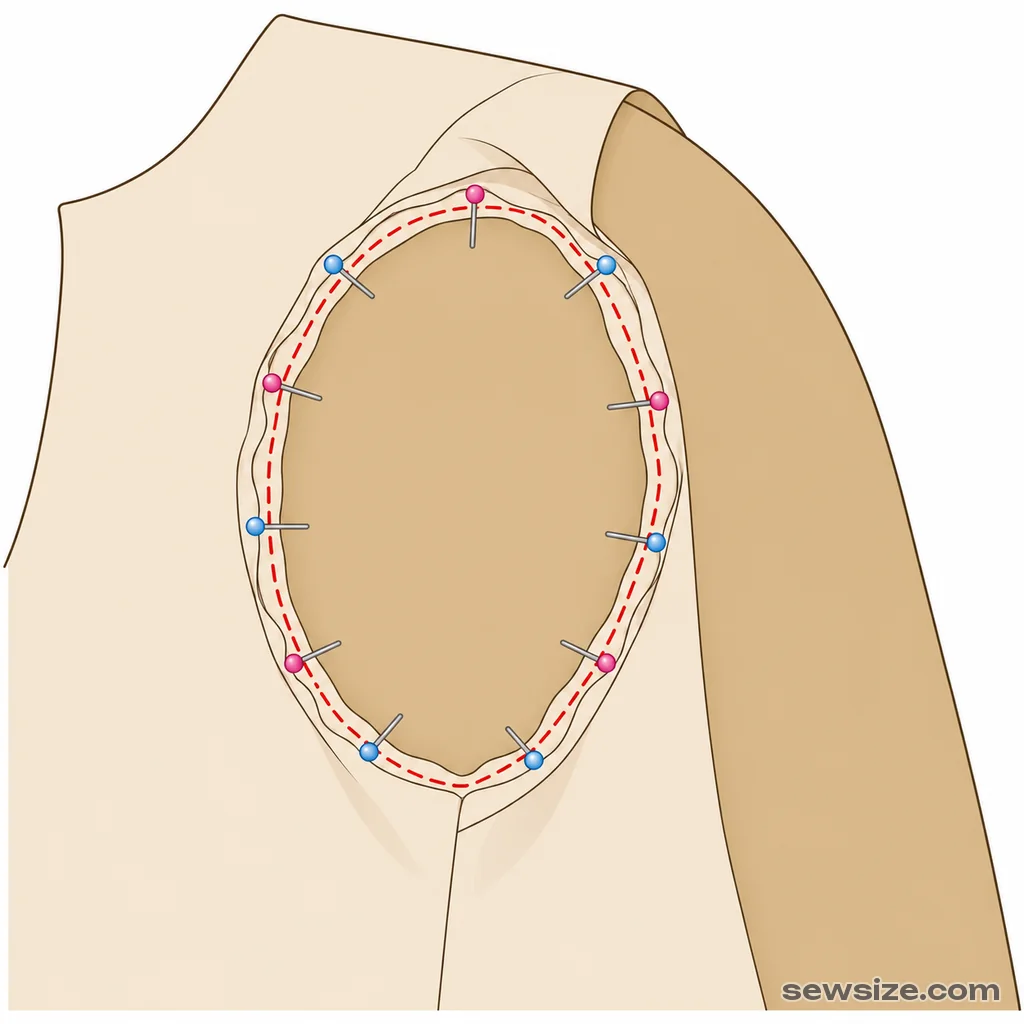
      Sew the sleeve seam and finish the raw edges. Along the sleeve cap between the notches, sew two rows with a long stitch and gently gather the threads—this is the ease, and it gives the sleeve fullness over the shoulder. Insert the sleeve into the armhole right sides together: top of the sleeve cap to the shoulder seam, double notch to the back, single notch to the front, and sleeve seam to the side seam. Sew it in from the sleeve side, distributing the ease so there are no puckers. If you chose the sleeveless jumpsuit, bind the armholes with bias tape just like the neckline.

      Set in the sleeves — 11
      Set in the sleeves — 22
      Set in the sleeves — 33
    14. Hem the sleeves

      Finish the raw edge, fold it under by the seam allowance width from the pattern, and slipstitch it by hand or topstitch.

    15. Hem the bottom edge

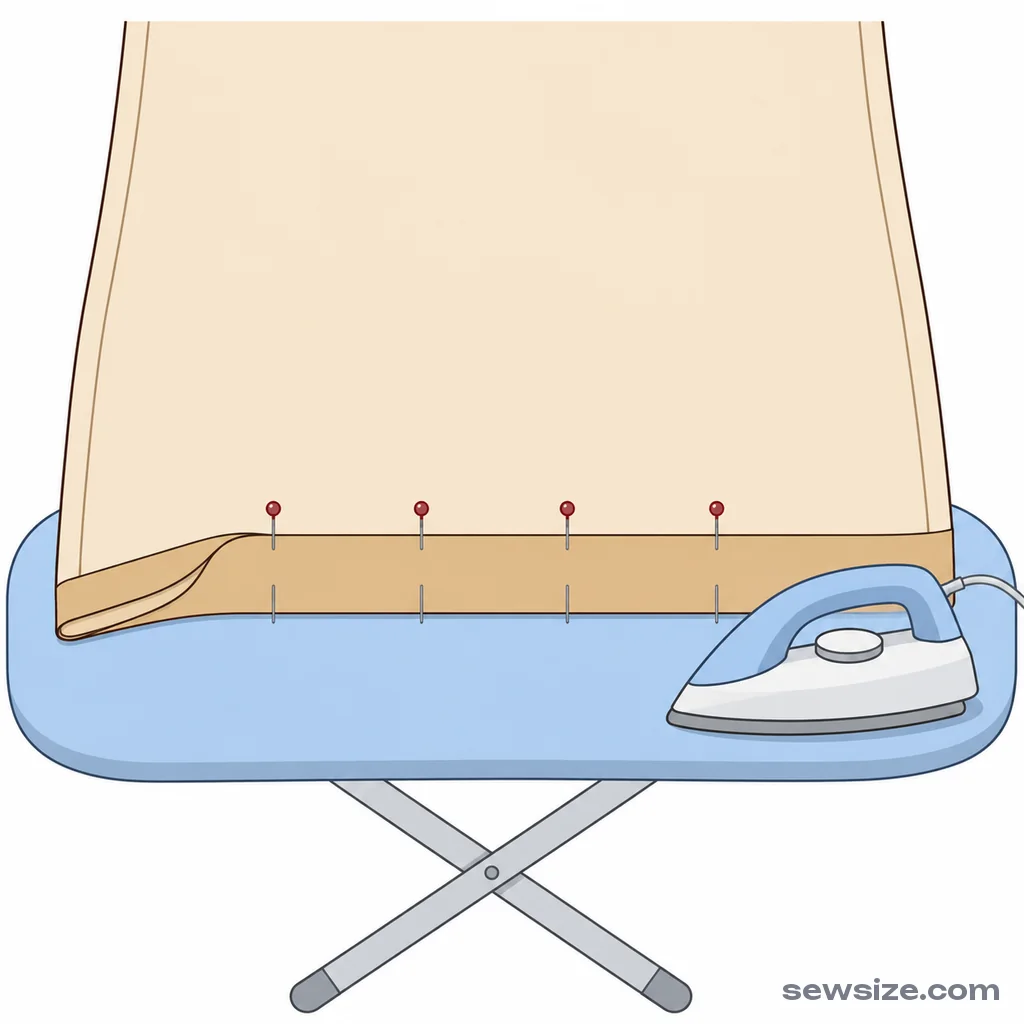
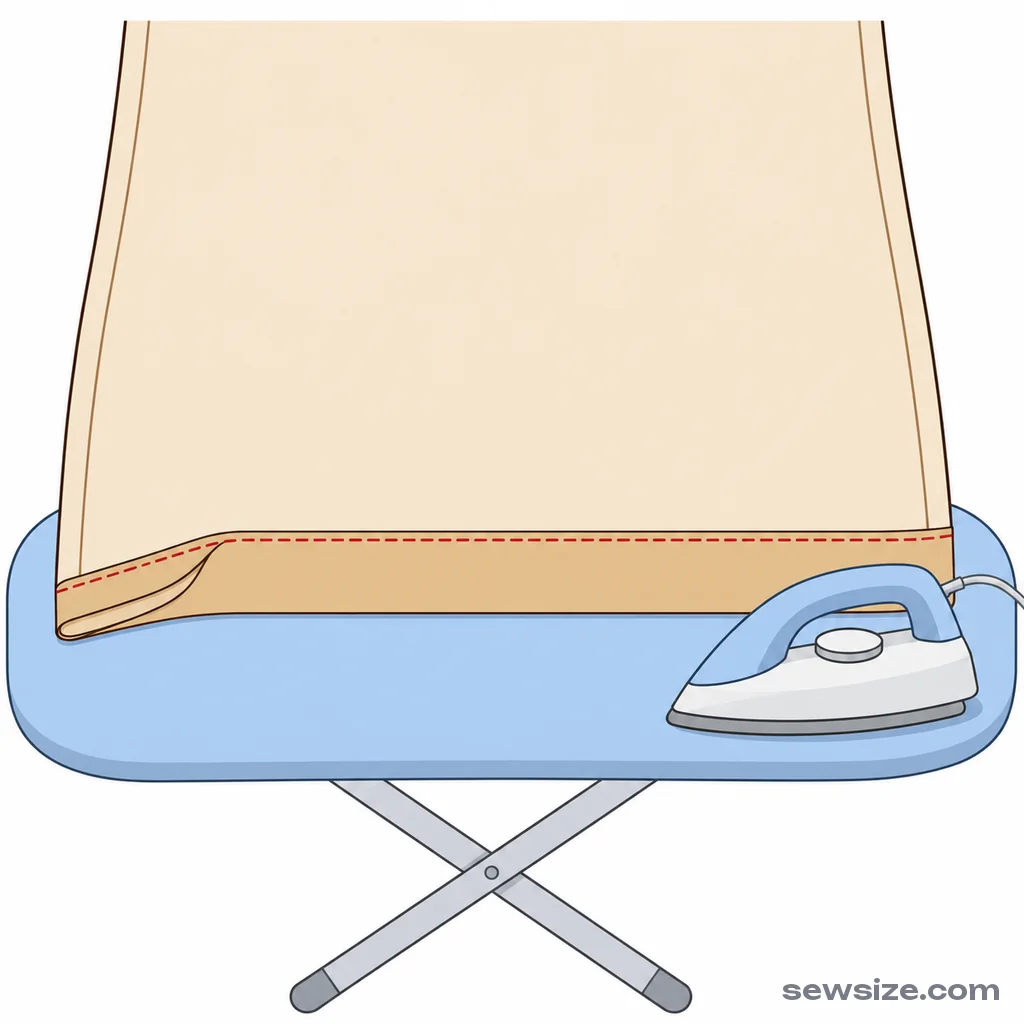
      Put on the jumpsuit and mark the length. Fold up the hem by 1 cm⅜ in, then by another 3 cm1⅛ in—the pattern has a 4 cm1⅝ in hem allowance—and topstitch along the edge.

      Hem the bottom edge — 11
      Hem the bottom edge — 22
    16. Press

      Press the seams through a pressing cloth, without sliding the iron back and forth over bias edges—this keeps them from stretching.

    How to sew it

    All guides →

    Measurements you need

    Bust

    Tape horizontally across the most prominent points of the bust, at the back — slightly above the shoulder blades, under the arms. In your usual underwear, not pulled tight.Tape horizontally across the most prominent points of the bust, at the back — slightly above the shoulder blades, under the arms. In your usual underwear, not pulled tight.

    Usually 31½–51⅛ in.Usually 80–130 cm.
    Waist circumference

    Tape horizontal around the narrowest part of your torso, usually ¾–1⅝ in above the navel. Snug but not tight; don't pull in your stomach.Tape horizontal around the narrowest part of your torso, usually 2–4 cm above the navel. Snug but not tight; don't pull in your stomach.

    Usually 22⅞–43¼ in.Usually 58–110 cm.
    Hip

    Tape horizontal around the fullest part of your buttocks, allowing for the curve of your stomach. Stand straight, feet together.Tape horizontal around the fullest part of your buttocks, allowing for the curve of your stomach. Stand straight, feet together.

    Usually 33⅛–51⅛ in.Usually 84–130 cm.
    Back waist length

    Tilt your head: a prominent vertebra can be felt at the base of the neck at the back. Tape from it down along the spine to the waist tape.Tilt your head: a prominent vertebra can be felt at the base of the neck at the back. Tape from it down along the spine to the waist tape.

    Usually 14⅝–17⅜ in.Usually 37–44 cm.
    Hip depth

    At the side, from the waistline down to the level where you measured the hip. It helps to tie a ribbon at the waist and measure from it.At the side, from the waistline down to the level where you measured the hip. It helps to tie a ribbon at the waist and measure from it.

    Usually 7⅛–8⅝ in.Usually 18–22 cm.
    Crotch depth (rise)

    Sit on a hard chair. At the side, straight down from the waistline to the seat. This measurement determines whether the pants will pull or hang loose at the crotch.Sit on a hard chair. At the side, straight down from the waistline to the seat. This measurement determines whether the pants will pull or hang loose at the crotch.

    Usually 9½–11¾ in.Usually 24–30 cm.
    Garment length

    At the side from the waistline down to the desired hem. For a knee-length skirt — about 23⅝ in, for pants — to the floor or to the ankle bone.At the side from the waistline down to the desired hem. For a knee-length skirt — about 60 cm, for pants — to the floor or to the ankle bone.

    Skirt 15¾–39⅜ in, pants 35⅜–43¼ in, shorts 11¾–21⅝ in.Skirt 40–100 cm, pants 90–110 cm, shorts 30–55 cm.
    Pant leg hem width

    This is not a body measurement but your preference: the circumference of the pant leg at the hem. Slim pants — about 14⅛ in, straight — 17⅜–18⅞ in, wide — 21¼ in and more.This is not a body measurement but your preference: the circumference of the pant leg at the hem. Slim pants — about 36 cm, straight — 44–48 cm, wide — 54 cm and more.

    Usually 14⅛–22 in.Usually 36–56 cm.
    Sleeve length

    Bend your arm slightly at the elbow. From the end of the shoulder (shoulder bone) along the outside of the arm through the elbow to the desired length: for a long sleeve, to the wrist bone.Bend your arm slightly at the elbow. From the end of the shoulder (shoulder bone) along the outside of the arm through the elbow to the desired length: for a long sleeve, to the wrist bone.

    Long 22–24⅜ in, three-quarter 16½–18⅞ in, short 8⅝–11 in. For children, long is about 0.29 of height.Long 56–62 cm, three-quarter 42–48 cm, short 22–28 cm. For children, long is about 0.29 of height.

    How the jumpsuit is drafted

    The bodice is our dress block down to the waistline: bust ease 2 in5 cm, a bust dart from the side seam, waist darts and a center back seam. The pants are drafted to match this bodice: the pants front matches the bodice front at the waist, the back matches the back, the pants darts sit opposite the bodice darts, and the side seams align. The rise is drafted 1⅛ in3 cm deeper than your measurement so the jumpsuit doesn't pull up when you sit or bend.

    The pattern maker checks the draft automatically: bust, waist and hip measurements, bodice-to-pants join at the waist, rise allowance, side seams and inseams, pocket opening, and sleeve cap against the armhole. The results appear in the "Draft check" section.

    How to print and tape

    Download the PDF on Letter or A4 sheets and print at 100% scale, without "fit to page". The first sheet has the test square: measure it with a ruler. Sheets are taped with an overlap along the strips ⅜ in1 cm; sheet numbers and the assembly diagram are on the first page. For a copy shop or plotter, choose "One-sheet PDF".

    What you get

    Bodice back and front with darts, front and back pants pieces, pocket bag and sleeve with notches — full size, with seam allowances.

    FAQ

    Why do I need the crotch depth (rise)?

    A jumpsuit is a one-piece garment: the pants hang from the shoulders, and if the rise is too short, the fabric will pull up and dig in when you bend or sit. That's why the pattern maker drafts the rise 1⅛ in3 cm deeper than your measurement. Measure it sitting on a chair: from the waist to the seat, at the side.

    Where is the closure?

    A concealed zipper in the center back seam — from the neckline to the hip line. This length is needed so the jumpsuit goes over your shoulders and hips. The pattern maker writes the exact zipper length under the draft, usually 21⅝–23⅝ in55–60 cm.

    What fabric should I use?

    A medium-weight non-stretch fabric: linen, sturdy cotton, suiting viscose, Tencel; for wide pants, crepe de chine and spun rayon. Knit fabric won't work for this pattern: the ease is calculated for non-stretch fabric.

    Can I skip the pockets and sleeves?

    Yes. In the "Model" section you can remove the pockets, choose a sleeve — sleeveless, short, elbow-length or long — a round neckline or a neckline at the base of the neck, and the pants width.

    Ready-made patterns

    The pattern maker is in beta. Patterns are drafted by formula and checked against proven patterns, but mistakes are possible: sew a test version from inexpensive fabric before cutting into the good stuff. Found a problem? Let us know.