Sewing for beginners
You don’t need classes or an expensive machine to start sewing. A simple home sewing machine, scissors, a tape measure, and a pattern are enough. Below: what to buy, how to set up your machine, how to sew your first straight, even line of stitching, and which projects to make first so you don’t get discouraged.
What you’ll need
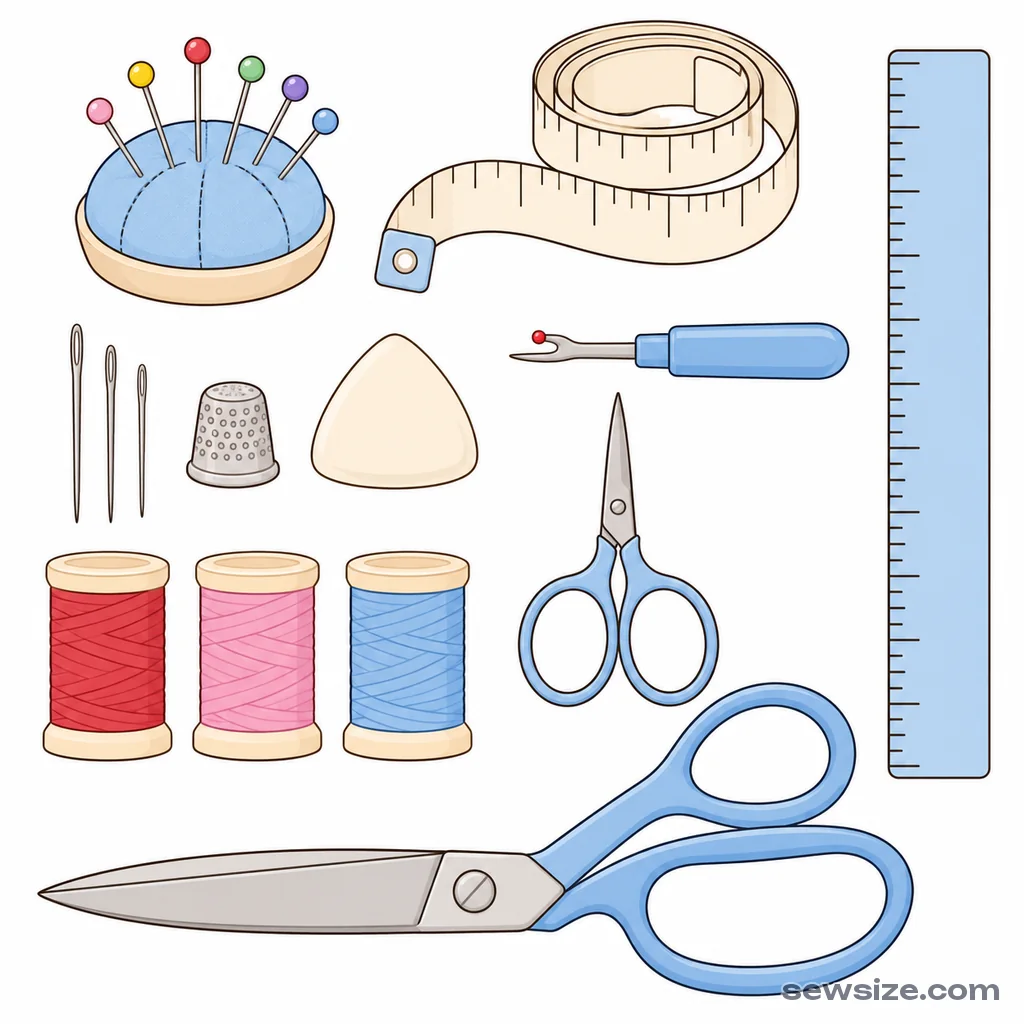
| Tool | What it’s for |
|---|---|
| Dressmaking shears 20–25 cm7⅞–9⅞ in | fabric only—paper dulls them quickly |
| Small scissors or seam ripper | trim threads, rip out stitches that didn’t work |
| Tape measure | taking measurements |
| Long ruler and French curve | tracing patterns, marking seam allowances |
| Tailor’s chalk or a sliver of soap | marking fabric—washes out |
| Pins with heads | pin pieces together before stitching |
| Hand-sewing needles and a thimble | basting, hemming, buttons |
| Iron and ironing board | press every seam |
Choosing a sewing machine
To start, any working home sewing machine with straight stitch, zigzag, and reverse is fine. If you’re buying new, look for:
- Mechanical — simpler and more reliable than computerized, with dial controls. It’s the best choice for beginners.
- Top-loading bobbin — the bobbin drops in from the top under a clear cover, so you can see how much thread is left.
- Automatic buttonhole — handy for shirts and blouses.
- Presser foot pressure adjustment and at least one stretch stitch — for knits.
- Metal frame — the machine doesn’t bounce around on heavy fabrics.
A serger is useful but not essential: you can finish raw edges with a zigzag on a regular machine.
Threading and your first stitch
Most machines have a threading diagram printed on the body, and it’s also in the manual. The general order is:
- Raise the presser foot — this opens the tension discs so the thread seats in them correctly.
- Place the spool, run the thread through the guides, through the take-up lever (the arm that moves up and down), and thread the needle from front to back.
- Wind the bobbin, insert it into the bobbin case, and bring up the bobbin thread by turning the handwheel toward you.
- Place both threads under the presser foot and toward the back.
Make your first line of stitching on a scrap of the same fabric folded in half. Stitch length: 2.5 mm⅛ in. Don’t pull or push the fabric — the machine feeds it, and your hands just guide it.
At the start and end of every seam, backtack: 3–4 stitches forward, the same number back, then forward again. That keeps the seam from coming undone.
Basic seams
- Plain seam — place two pieces right sides together and stitch 1–1.5 cm⅜–⅝ in from the raw edge. This is the workhorse seam in any garment.
- Finishing raw edges — zigzag stitch or serge along the edge of the seam allowance so the fabric doesn’t ravel.
- Hemming — fold the edge to the wrong side twice and topstitch. This is how you finish the bottom of a garment and sleeve hems.
- Flat-felled seam — both raw edges are enclosed inside. It’s strong, like the seams on jeans and shirts.
Hand stitches
Even with a sewing machine, you’ll still need a few hand stitches. Three are enough:
- Basting stitch (running stitch) — long stitches 1–1.5 cm⅜–⅝ in to hold pieces together temporarily. After you sew the seam, pull out the thread.
- Backstitch — strong and looks like machine stitching. You can use it to repair a seam that has come apart.
- Blind stitch — for hemming so it’s invisible from the right side.
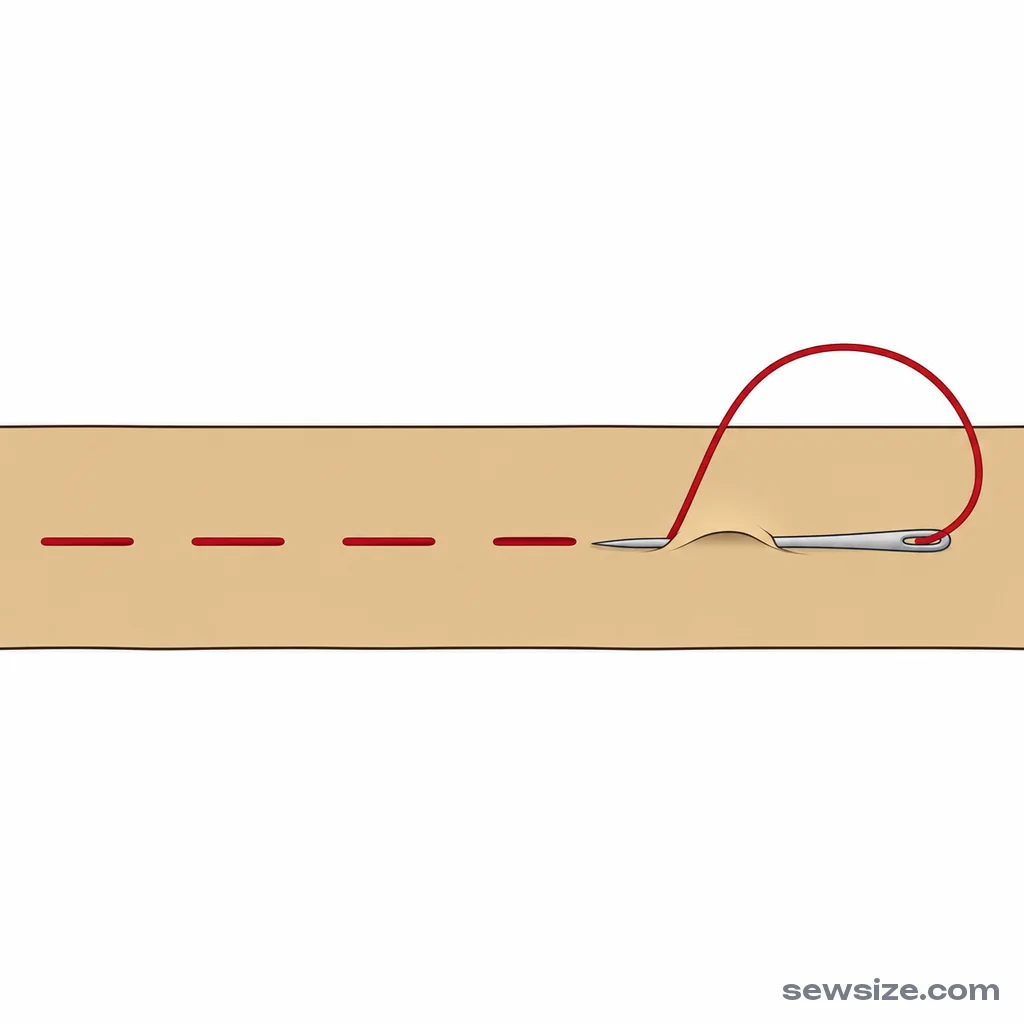 1
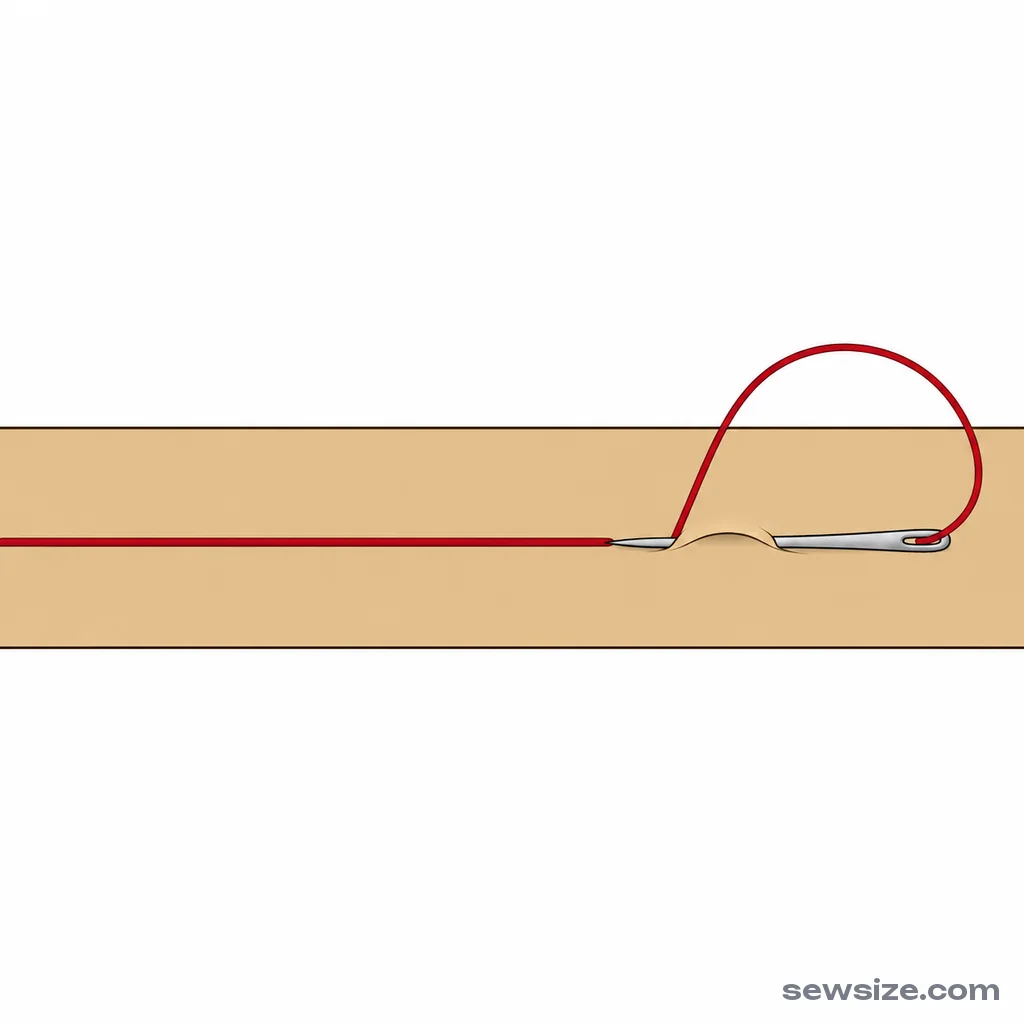 2
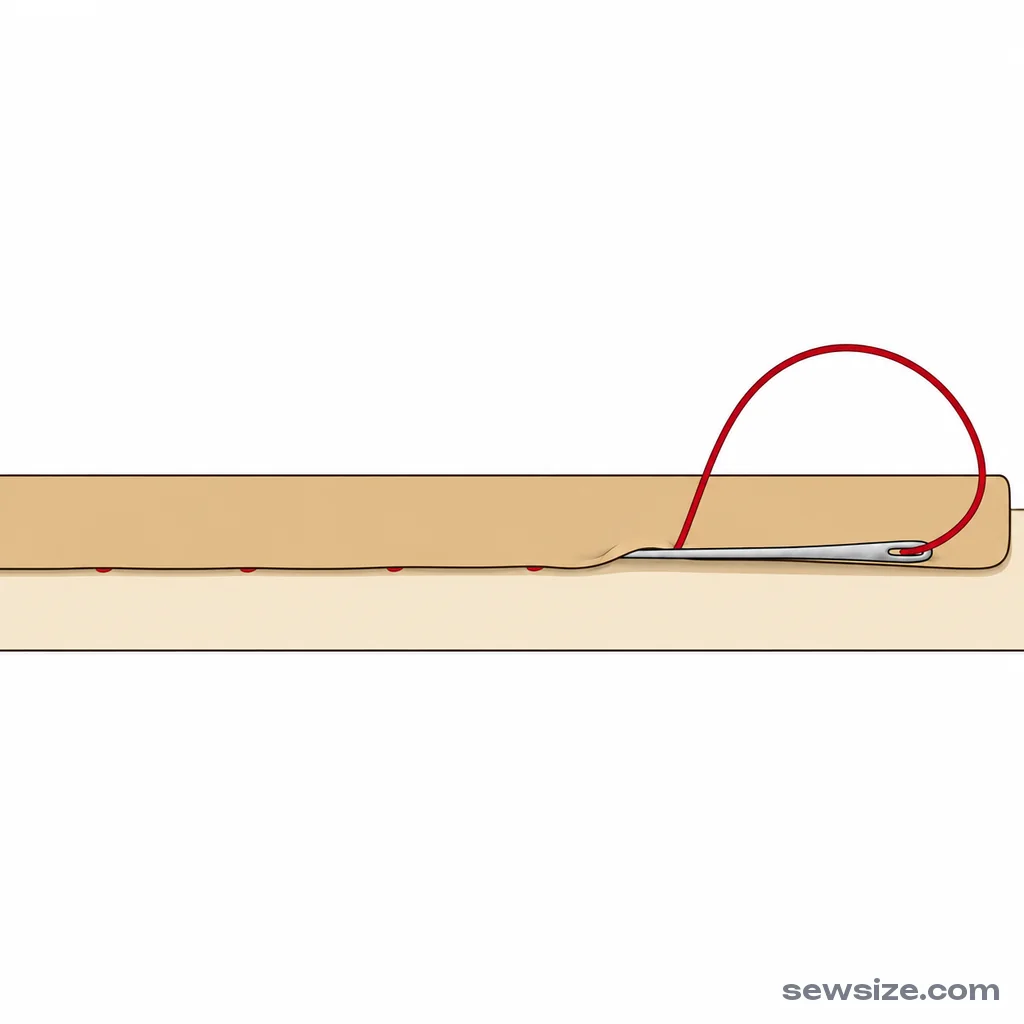 3
Pressing is half the battle
A professional-looking garment comes not so much from the stitching as from the pressing. The rule is simple: press every seam right away, before the next seam crosses it. First press the seam as it is so the stitching settles, then press the seam allowances open or to one side. Press dark and wool fabrics through a pressing cloth — a piece of cotton fabric — otherwise they’ll develop a shine.
What to sew first
Your first projects should be simple but useful — things you'll actually enjoy wearing. Here's an order that goes from easy to more challenging; for each project we have a pattern drafted to your measurements and a step-by-step tutorial:
- Tote bag — straight seams only.
- Apron — bias binding finish, ties.
- Elastic-waist skirt — casing, hemming the bottom edge.
- Pajama shorts — your first pants: the inseam and the crotch seam.
- Elastic-waist pants — the same, just longer.
- Circle skirt — working with bias edges.
- T-shirt — your first knit, neckline finished with a knit band.
- Straight skirt — darts, zipper, waistband.
Once you've done those, you're ready for dresses — see our guide How to sew a dress. And for how much fabric to buy for each project, see How much fabric do I need.
Beginner mistakes
- You didn't pre-wash the fabric. After the first wash the garment shrank a whole size. Wash or steam the fabric before you cut.
- You cut off grain. The grainline arrow on the pattern has to sit parallel to the selvage, otherwise the garment will twist.
- You sewed without a fitting. Baste and try the garment on before you finish the raw edges and trim the seam allowances.
- Starting with a tricky fabric. Chiffon, satin, velvet, and fine knits aren’t for your first projects. Start with cotton.
- Using a pattern in “roughly your size.” If your measurements fall between sizes, the garment won’t fit well. Draft a pattern to your measurements with our pattern maker — it’s free.