How to sew in a zipper
A zipper scares beginners more than any other closure, even though it can be installed in 15–20 minutes. The secret is in the prep: the right presser foot, pressed seam allowances, and basting. Below are the three most useful methods: a standard zipper in a seam, an invisible zipper, and a separating zipper for a jacket—plus a zipper in a pillowcase.
Which zipper to choose
| Zipper | What it looks like | Where to use it |
|---|---|---|
| Standard closed-end (coil or plastic) | teeth are visible, with two lines of topstitching on either side | pants, skirts, bags, pillows |
| Invisible | from the right side, only a neat seam line shows; the teeth are hidden | dresses, skirts, blouses in lightweight fabrics |
| Separating | opens completely, with an insertion pin at the bottom | jackets, hoodies, vests |
| Metal | large metal teeth | jeans, heavy jackets, bags |
Choose the length specified in the pattern. If you don't have the right length, buy a longer one: on a closed-end zipper, the extra is cut from the bottom after making a backtack—a few stitches across the teeth (by hand or with a zigzag) so the slider doesn't slip off. On a separating zipper, the extra is removed from the top: pull out a few top teeth and add a new top stop.
Presser foot and prep
- Zipper foot — a narrow one-sided foot that lets you sew close to the teeth. It comes with almost every home sewing machine.
- Invisible zipper foot — has two grooves underneath: the teeth sit in a groove and bend away, and the needle goes right at their base. It's inexpensive; you can install an invisible zipper without it, but it's harder.
- Fusible stay tape or a strip of fusible interfacing 1.5 cm⅝ in wide — press it to the wrong side over the seam allowances where the zipper will go. That keeps the edge from stretching, especially on knits and bias edges.
- Before installing, press the zipper if the teeth are plastic and the tape is creased (use a low setting and avoid pressing the teeth).
Tip: baste the zipper by hand or pin perpendicular to the seam, then stitch. With basting, the zipper won't shift, and both sides of the opening will line up evenly.
Standard zipper in a seam
This is the classic centered zipper method: the seam edges meet in the middle over the zipper teeth, with two neat lines of stitching visible on either side. It’s the way zippers go into a skirt’s center back seam, the side seam of pants, or the back of a dress.
- Place the pieces right sides together and sew the seam from the bottom up to the zipper stop mark. Backtack at the start of the zipper opening.
- Baste the zipper opening area with a long stitch (your machine’s longest stitch) along the seam line.
- Press the whole seam open, basting and all.
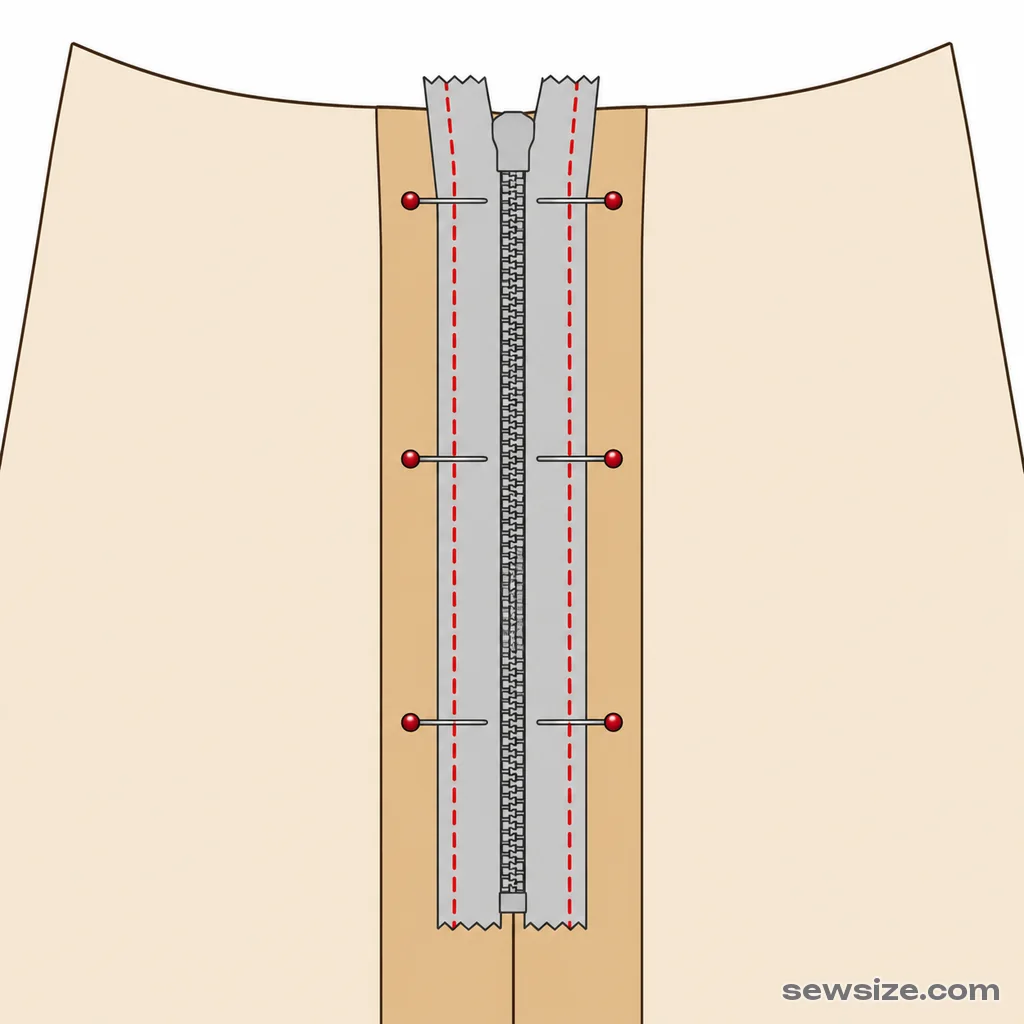
- Place the zipper face down on the pressed-open seam allowances so the teeth sit exactly along the seam. Pin or baste the zipper tape to the seam allowances.
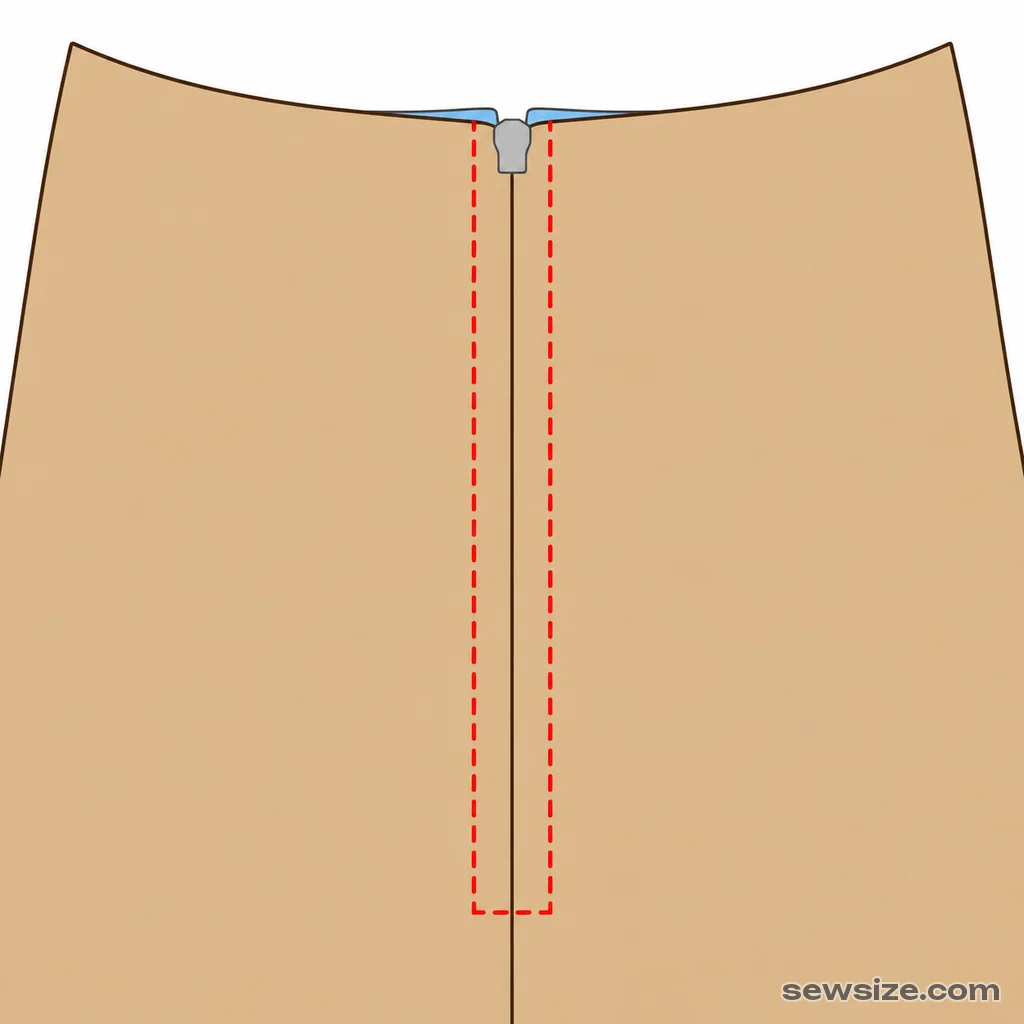
- Turn the garment right side out. With a zipper foot, stitch 0.5–0.7 cm¼ in from the seam: down one side, across the bottom (below the last tooth), and up the other side.
- Remove the basting from the seam so the zipper can open. Press through a pressing cloth.
 1
 2
When the stitching reaches the zipper pull, it gets in the way of the foot. Stop with the needle down, lift the presser foot, slide the pull behind the needle, and keep sewing.
Invisible zipper
An invisible zipper is inserted before you sew the seam — that’s the main difference from a standard zipper. The seam underneath it is sewn afterward.
- Finish the raw edges where the zipper will go. Mark the seam line with chalk on both pieces.
- Unzip the zipper and press the coils with a warm iron from the wrong side, bending them away from the tape — this helps the stitching sit closer to the coils.
- Place one side of the zipper on the right side of the fabric piece, face down: the coils exactly on the seam line and the tape on the seam allowance.
- With the invisible zipper foot, stitch the tape close to the coils from the top down to the slider. Backtack.
- Close the zipper and mark the waistline or neckline level on the second tape with chalk so the sides line up. Unzip it and attach the second side to the second piece the same way.
- Close the zipper. Place the pieces right sides together and sew the seam below the zipper with a regular foot (or zipper foot): start 2–3 mm⅛ in above the end of the zipper attaching stitching and slightly to the side of it, otherwise a little fold will form under the zipper.
- Stitch the tape ends to the seam allowances and press the seam.
A zipper in a skirt or dress
In a skirt, the zipper goes in the center back seam or the left side seam; in a dress, in the center back seam or the left side seam. Here is the order for a skirt:
- Sew and press the darts.
- Insert the zipper — invisible or regular, as described above. The top end of the tape should sit 1–1.5 cm⅜–⅝ in below the edge of the waistband or facing: this leaves room for the seam that attaches the waistband.
- Sew the remaining seams and attach the waistband or facing. Fold the zipper tape ends to the inside and secure them.
The zipper length is 18–20 cm7⅛–7⅞ in in a skirt, 40–55 cm15¾–21⅝ in in a dress back, and 15–18 cm5⅞–7⅛ in in pants. If the skirt is fitted at the waist and the zipper ends below the waistline, sew a zipper guard underneath it on the wrong side — a strip of fabric folded in half. It keeps the zipper teeth from catching on underwear.
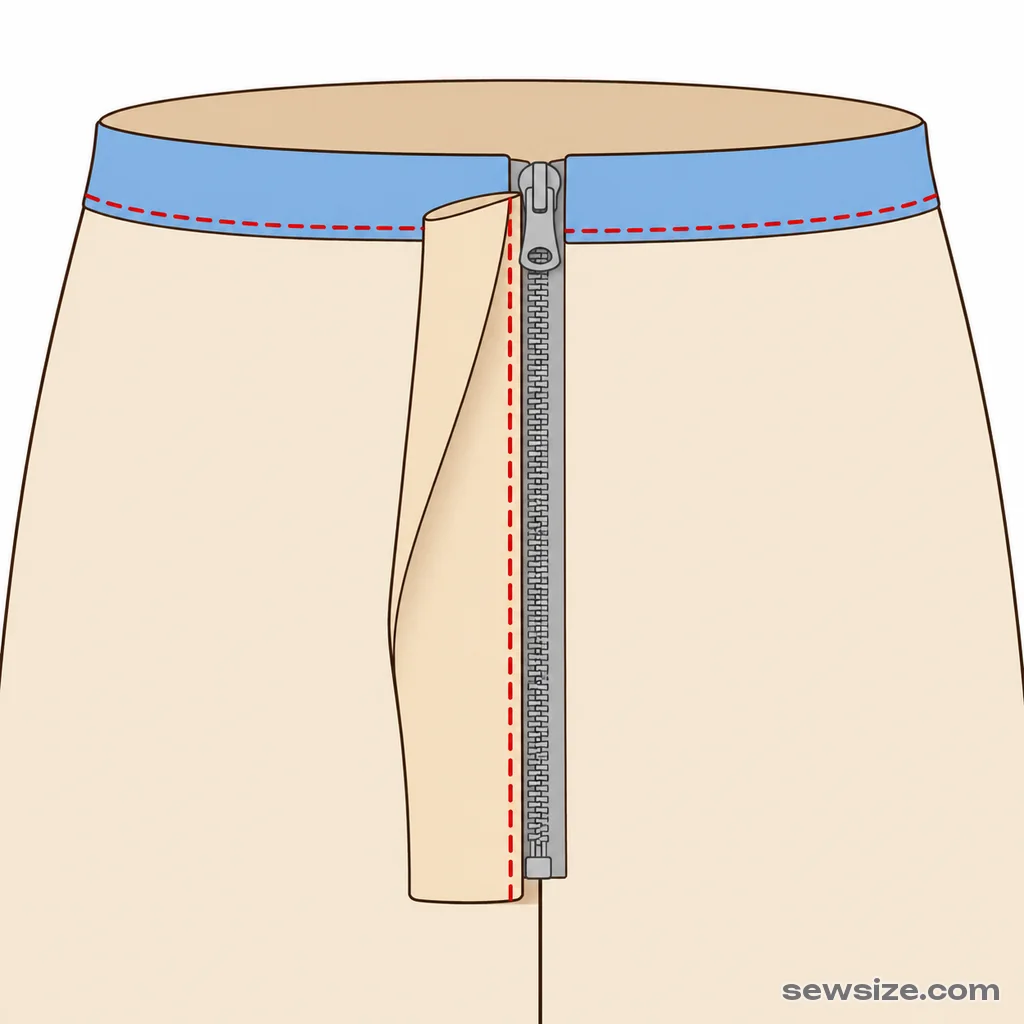
Step-by-step sewing instructions with a zipper are on the pages for a straight skirt, a pencil skirt, and a sheath dress — there, the pattern is drafted to your measurements.
A zipper in a pillowcase
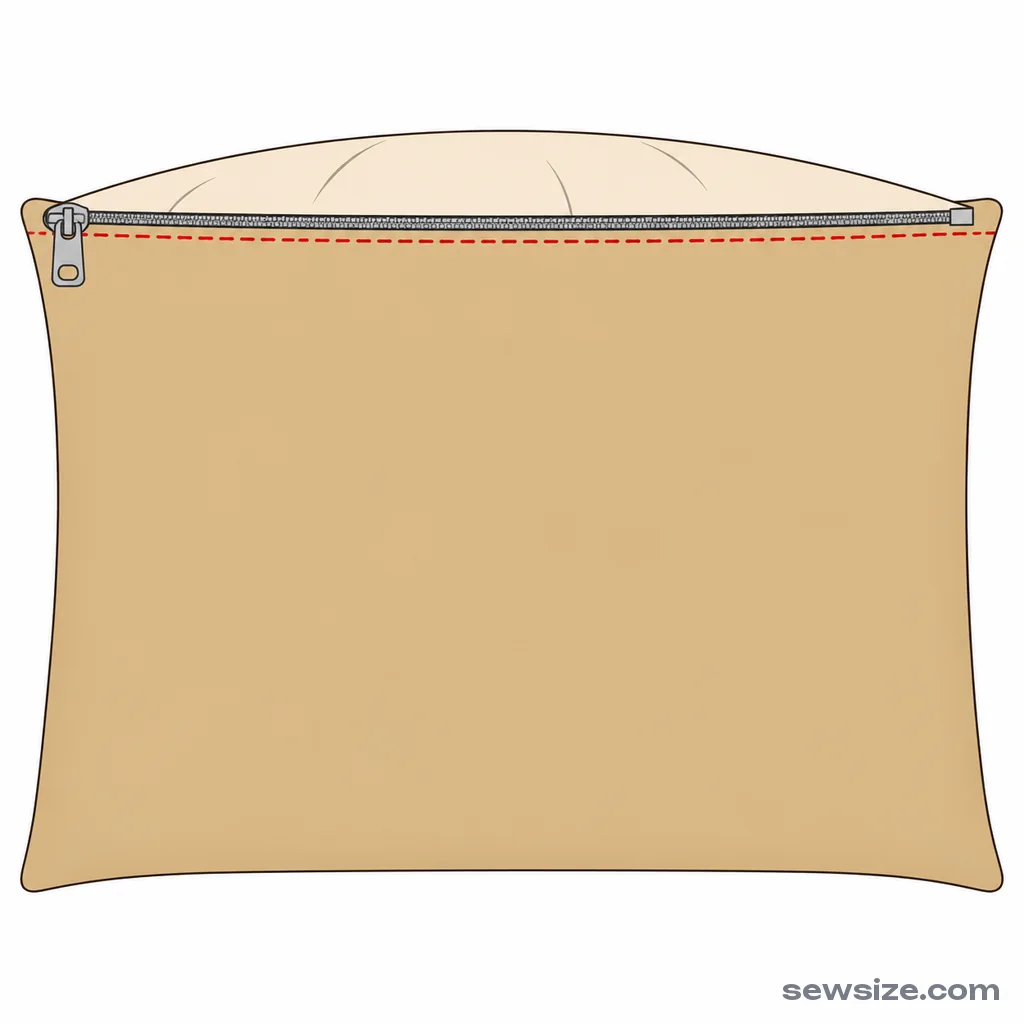
The easiest way: sew the zipper into a seam on one side of the pillowcase before you sew the remaining sides.
- Use a zipper that is 5–10 cm2–3⅞ in shorter than the side of the pillowcase (for a 50×70 cm pillow—about 20×28 in.—use a 40–45 cm15¾–17¾ in zipper on the short side).
- Place the two pieces right sides together. Sew from both corners to the zipper opening, and baste the center with a long stitch.
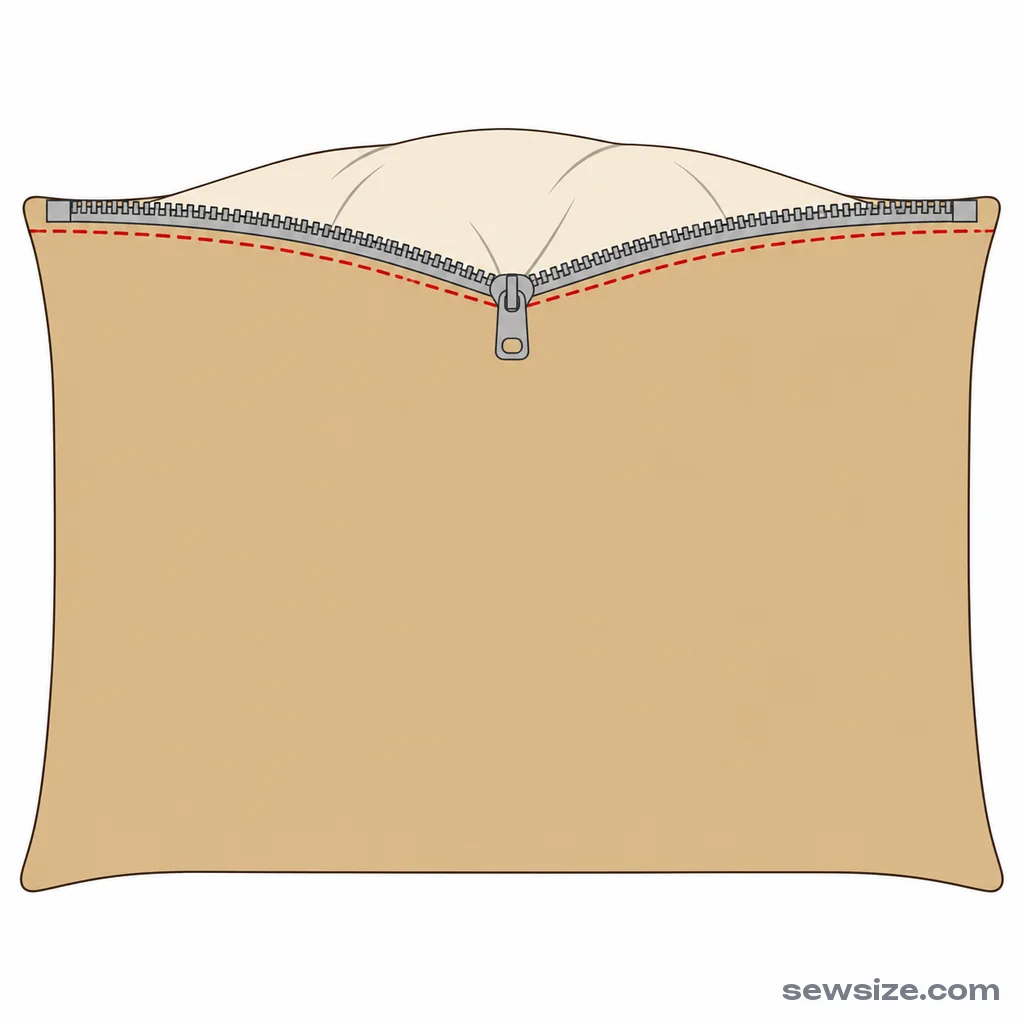
- Press the seam open and insert the zipper as you would a regular centered zipper.
- Unzip the zipper halfway—otherwise you won't be able to turn the finished pillowcase right side out. Sew the remaining three sides, finish the raw edges, and turn it right side out through the zipper.
 1
 2
Inserting a separating zipper in a jacket
On jackets and hoodies, the zipper is sewn between the front panel and its facing (or a separate facing) so the zipper tape edges are hidden inside.
- Separate the zipper. Place one half on the right side of the front panel, right side down, with the teeth toward the garment and the tape edge along the raw edge. Fold the top end of the tape diagonally outward so it won't get caught in the neckline stitching. Baste in place.
- Place the front facing on top, right side down, and sew everything together with a zipper foot 0.7–1 cm¼–⅜ in from the raw edge.
- Turn the front facing to the wrong side, press, and topstitch from the right side 0.5–0.7 cm¼ in from the edge.
- Zip the zipper closed, mark the pocket placement, waistline, and hemline on the second tape, then sew in the second side using those marks. That way the front panels will line up.
Common mistakes
| What went wrong | Why | How to fix it |
|---|---|---|
| The seam under the zipper is wavy | the raw edge stretched | apply fusible stay tape to the seam allowances from the wrong side; press, don't pull |
| The sides don't line up | one tape was sewn on higher | before attaching the second side, zip the zipper closed and mark the levels with chalk |
| Invisible zipper teeth are showing | Stitching is too far from the coils | Press the zipper coils before inserting, and sew with an invisible zipper foot |
| Pucker at the bottom of the invisible zipper | The seam below starts right at the end of the zipper stitching | Start 2–3 mm⅛ in higher and further left |
| Needle keeps breaking | It hit a metal tooth | On metal zippers, don’t stitch over the teeth—move the slider out of the way |